How to Check Window Quality Before and After Installation
Introduction
Window replacement is a serious investment, and you have the right to receive the quality you pay for. Unfortunately, not all companies follow standards, and some unscrupulous contractors may use cheaper materials or violate installation technology. This is especially relevant in Kyiv, where demand for window replacement services is high.
In this article, we’ll provide a detailed checklist to help you check the quality of windows and installation work in Kyiv, so you can avoid problems in the future.
Pre-Installation Inspection
Before the installers begin work, check:
1. Match to Your Order
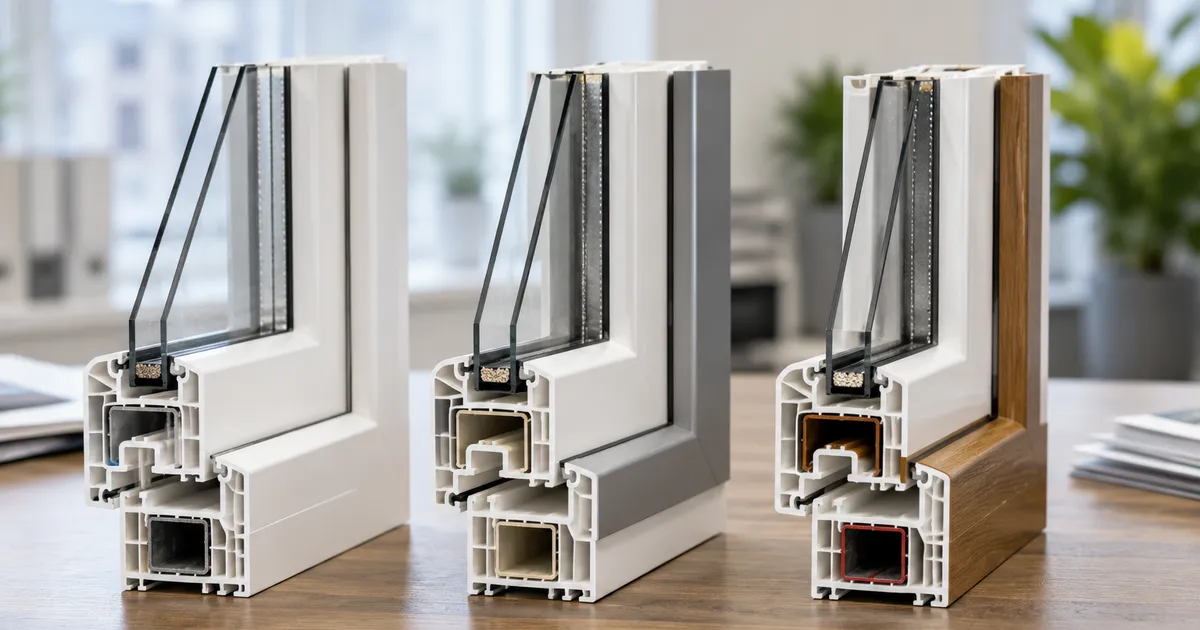
- Profile: check the markings on the profile. It should show the brand (Rehau, KBE, Veka), series, and country of manufacture.
- Dimensions: compare the window dimensions with your order. Allowed deviation is ±2 mm.
- Number of sashes: make sure the number and type of sashes (operable, fixed) match your order.
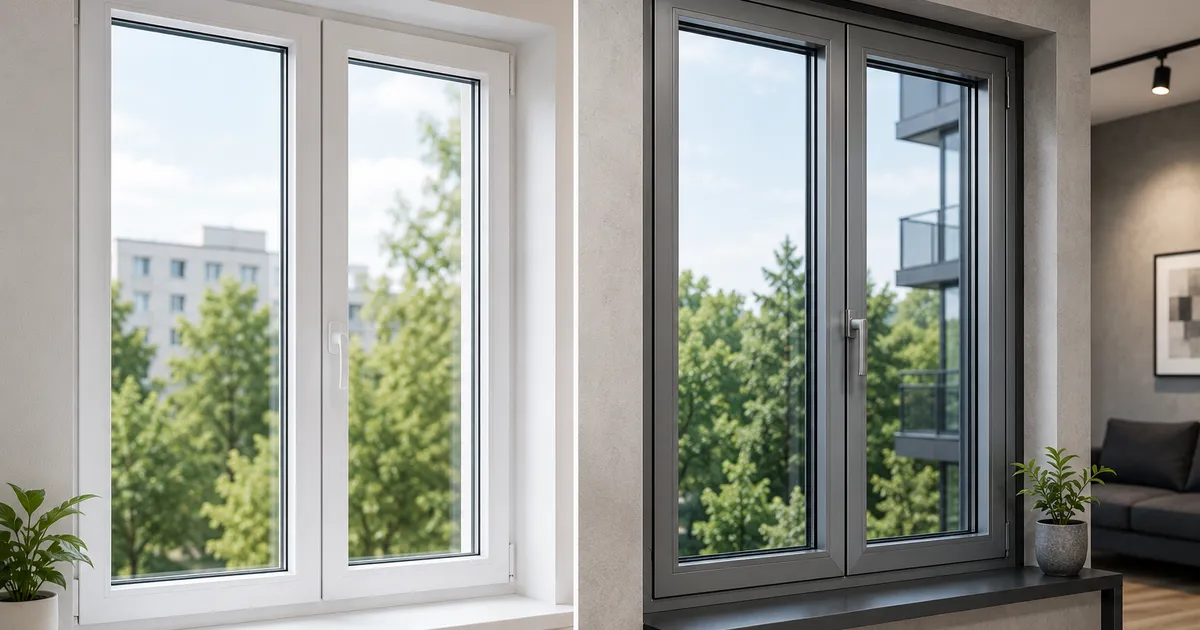
- Color: check the profile color. If you ordered lamination, verify the color and texture match the sample.
2. Profile Quality
What to look for:
- Wall thickness: Class A — 3 mm, Class B — 2.5 mm. Check with calipers or ask for the certificate.
- Number of chambers: compare with your order (3, 4, 5, or more).
- Profile depth: measure or check the specification (60, 70, 80 mm, etc.).
- No damage: check for cracks, scratches, or chips on the profile surface.
3. Glass Unit Quality
- Number of chambers: verify the glass unit matches your order (single-chamber, double-chamber).
- Energy-saving coating: if you ordered energy-saving, check for the characteristic reflective coating.
- No damage: check for cracks, scratches, or stains between the glass panes.
- Sealing: ensure the glass is tightly fitted in the frame with no gaps.
4. Hardware
- Hardware brand: check the markings (Roto, Maco, Siegenia are quality brands).
- Number of locking points: for a standard window — at least 2-3 points.
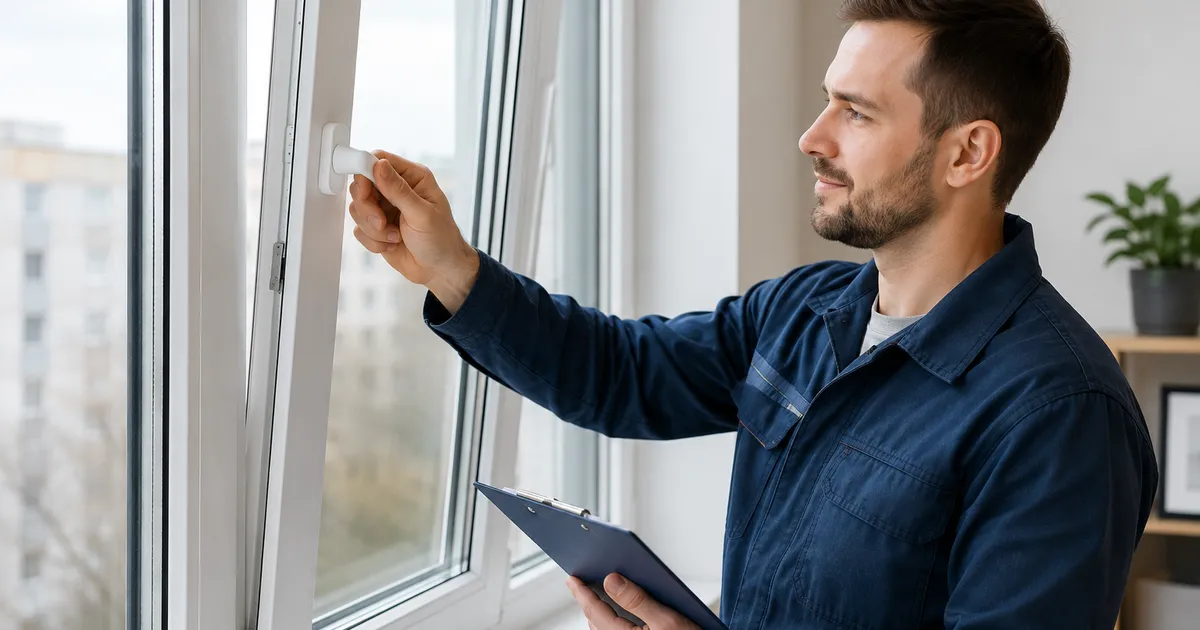
- No looseness: wiggle the sash — it shouldn’t rattle.
Important: If you notice any discrepancies or defects before installation begins, demand replacement of components. It’s much harder to do after installation.
During-Installation Check
Monitor the installation process:
1. Removing the Old Window
- Ensure the old window is completely removed without wall damage.
- Check that the opening is cleared of old insulation and debris.
2. Frame Installation
- Level: the frame must be installed strictly level (vertically and horizontally). Check with a construction level.
- Gaps: there should be an even gap (20-30 mm) between the frame and the wall for foam sealing.
- Fastening: the frame must be secured with anchors or mounting plates (at least 3 points for a standard window).
3. Foam Sealing
- The foam should fill the entire gap without voids.
- There should be no visible gaps or insufficient filling.
- Use quality foam (e.g., Soudal or Penosil, not cheap alternatives).
4. Glass Unit Installation
- The glass unit should sit tightly in the frame with no gaps.
- Glazing beads (glass holders) must be securely fastened.
Work Acceptance Checklist
After installation is complete, carefully check:
Visual Inspection
- Window is level (check with a level)
- No profile damage (cracks, scratches, chips)
- No glass unit damage (cracks, stains)
- Even gap between frame and wall
- Quality foam sealing with no gaps
- Windowsill and flashing installed
- Slopes finished
Functional Inspection
- Sashes open and close smoothly
- Window closes tightly (check the seal)
- Hardware works without looseness or squeaking
- Handle turns without effort
- Window locks in the open position
Sealing Inspection
- No drafts (hold a lit candle or match near the frame)
- No leaks during rain (check after the first rain)
- No condensation between glass panes
Documentation Check
- Work completion certificate
- Window warranty card
- Installation warranty card
- Operating instructions
- Receipt or invoice
Red Flags: What to Watch For
When Choosing a Company
- Too low price: if the price is significantly below market rate, this is cause for concern. The company may be using cheaper materials.
- No contract: a serious company always signs a contract with detailed descriptions of work and materials.
- No warranty: if the company doesn’t provide a warranty on work — this is a serious red flag.
- Can’t verify the company: no reviews, portfolio, or real site addresses.
During Installation
- Fast installation without oversight: if installers work too fast without using a level or proper tools.
- Using cheap materials: cheap foam, no waterproofing tape, plastic anchors instead of metal ones.
- No slope insulation: if the company doesn’t offer this service or ignores its necessity.
After Installation
- Refusal to fix defects: if the company ignores your remarks or refuses to correct issues.
- No documentation: if you weren’t provided with a work completion certificate and warranty card.
- Pressure from installers: if they try to force you to sign the certificate before issues are resolved.
What to Do If Defects Are Found
1. Document defects with photos and video
This will serve as evidence in case of a dispute with the contractor.
2. Create a list of issues
Write down all flaws in writing with reference to warranty obligations.
3. Notify the contractor in writing
Send the list of issues by email or registered mail.
4. Set a deadline for fixes
Set a reasonable deadline for correcting defects (usually 7-14 days).
5. Involve a lawyer if necessary
If the contractor refuses to fix defects, consult a lawyer or consumer protection service.
Tip: Don’t sign the work acceptance certificate until you’re sure all defects are resolved. Signing means you’ve accepted the work and are satisfied with its quality. If you have any doubts, contact UWS specialists for an independent quality inspection of windows in Kyiv.
Tips for Long-Term Operation
To keep windows working well and maintaining their properties for years:
1. Lubricate hardware regularly
Use special window hardware lubricant (e.g., WD-40 or similar). Do this 1-2 times per year.
2. Check the seals
Inspect rubber seals at least once a year. If damaged or hardened — replace them.
3. Clean drainage holes
Clear the drainage holes at the bottom of the frame from dirt and dust to prevent flooding.
4. Don’t overload sashes
Don’t hang heavy items on sashes or use them as support.
5. Adjust the pressure
If you notice drafts, adjust the sash pressure using a hex key.
Conclusion
Checking window quality is your right and duty as a customer. By following this checklist, you’ll be able to catch defects early and avoid problems in the future.
Key rules:
- Inspect materials before installation begins
- Monitor the installation process
- Thoroughly inspect work upon completion
- Document everything
UWS guarantees work quality and provides full documentation. We’re always ready for inspection and addressing any concerns. Contact us for quality windows with a warranty in Kyiv. Our professionals will handle window installation, glass replacement, and door closer installation following all quality standards.