Window Replacement: Step-by-Step Instructions from Removal to Finishing
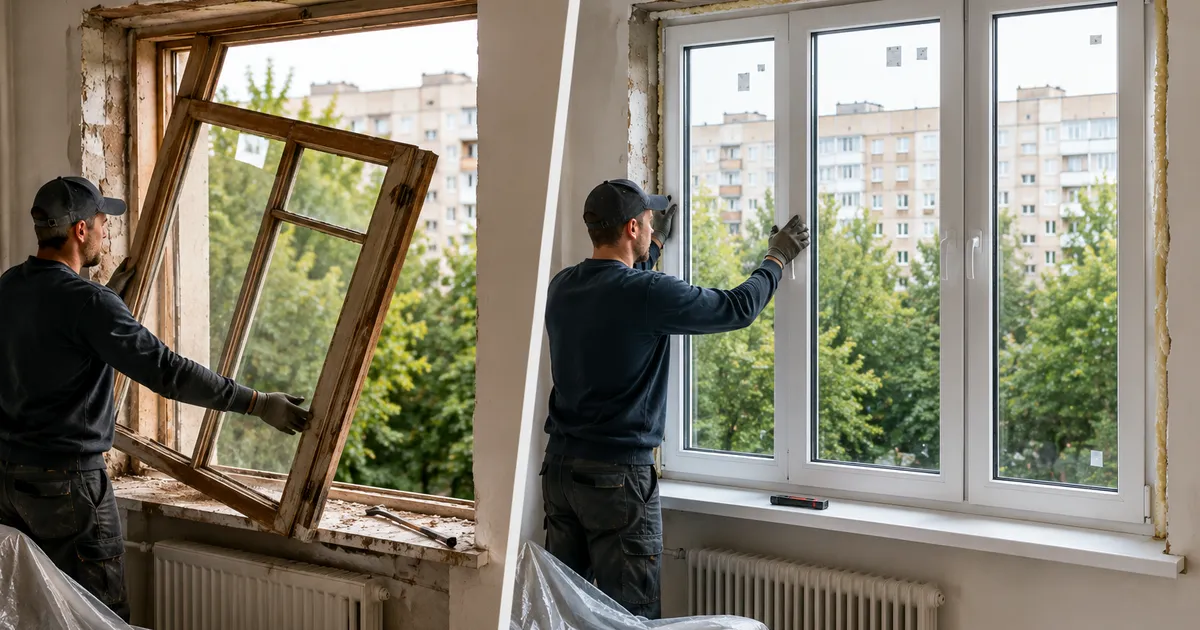
Window replacement is a serious step that requires careful preparation and proper execution. Improper replacement can lead to leaks, heat loss, and wall damage. In this article, we’ll provide step-by-step instructions for window replacement from removing old ones to finishing. In Kyiv, where many buildings need old window replacement, these instructions will be useful for residents of all city districts.
Preparatory Stage: Assessment and Planning
Before starting replacement, you need to prepare thoroughly.
Condition Assessment
First, you need to assess the condition of existing windows and determine if full replacement is really needed:
- Leaks. If the window leaks during rain — this is a serious reason for replacement.
- Heat loss. If the window “drafts” or condensation forms on it — it can’t handle thermal insulation.
- Deformation. If the frame deformed or glass unit cracked — replacement is necessary.
- Age. If the window is over 20 years old, it probably doesn’t meet modern standards.
Choosing New Windows
When choosing new windows, pay attention to:
- Profile. Plastic (PVC) — most popular, aluminum — for unheated rooms, wooden — for eco-interiors.
- Glass unit. Single-chamber for unheated, double-chamber for living rooms.
- Hardware. Quality hardware ensures airtightness and convenience.
- Additional options. Energy-saving coating, tinting, anti-burglary mechanisms.
Document Preparation
- Owner’s passport
- Ownership documents (certificate, purchase agreement)
- Permission from housing office or homeowners association (if facade changes are planned)
Expert Tip: Always take accurate measurements of window openings before ordering new windows. Even millimeter inaccuracies can lead to problems during installation.
In Kyiv, professional window replacement is the main service of UWS. Our specialists work in all city districts, including Obolon, Pechersk, Darnytskyi, Sviatoshyn, and others.
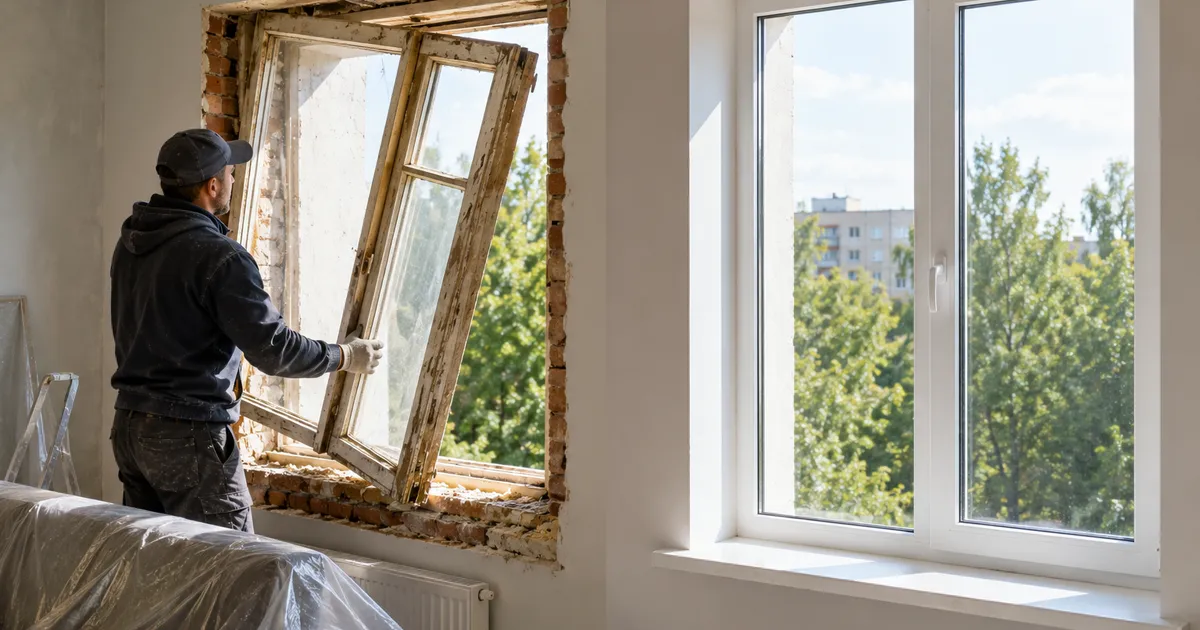
Removing Old Windows
Removal is the most “dirty” stage that requires caution.
Necessary Tools
- Angle grinder or metal saw
- Hammer drill or hammer
- Crowbar
- Safety glasses and gloves
- Vacuum cleaner for dust collection
Removal Stages
1. Glass Removal
Carefully remove glass units or single panes. If the glass is cracked, apply tape to prevent it from scattering.
2. Sash Removal
Open the sashes and remove them from the hinges. This may require a screwdriver or hardware adjustment key.
3. Frame Removal
Cut the frame with an angle grinder or saw into several parts and remove them from the opening. Be careful not to damage the walls.
4. Opening Cleaning
Remove remaining mounting foam, old sealant, and dirt. Level the wall surface.
5. Debris Collection
Thoroughly clean all construction debris, dust, and fragments. Use a vacuum cleaner to collect small particles.
Room Protection
- Cover furniture with film or fabric
- Remove curtains and cornices
- Close doors to other rooms
- Use safety glasses and respirator
Expert Tip: Removing old windows is the most injury-prone stage. If you don’t have construction experience, it’s better to leave this stage to professionals.
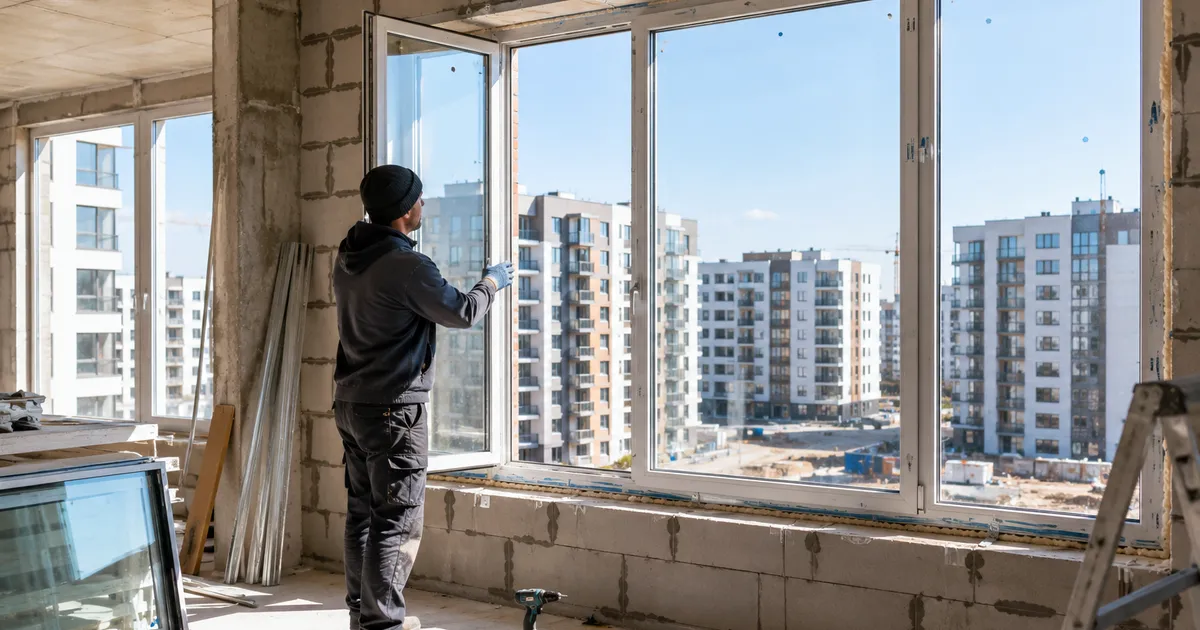
Installing New Windows
Installing new windows is a responsible stage that requires precision and technology compliance.
Installation Preparation
- Check new window dimensions and opening match
- Prepare fastening elements (anchors, self-tapping screws, substrates)
- Check availability of all components
Installation Stages
1. Substrate Installation
Install plastic or wooden substrates on the opening bottom to level the frame.
2. Frame Installation
Insert the frame into the opening and level it using a level. The frame must be strictly vertical and horizontal.
3. Frame Fixing
Fix the frame using anchors or mounting plates. Number of fixing points — at least 3 on each side.
4. Foaming
Fill the space between frame and wall with mounting foam. Use foam designed for seasonal work (winter or summer).
5. Glass Unit Installation
After foam drying (24 hours), install glass units and fix with glazing beads.
6. Hardware Installation
Attach handles, locking mechanisms, and other hardware elements.
Quality Check
- Smooth sash movement
- Tight fit
- No leaks
- All mechanisms working
Finishing and Quality Control
Finishing is the final stage that determines the window’s appearance and functionality.
Windowsill Installation
- Measure and cut windowsill of appropriate size
- Install on mounting foam or special brackets
- Fill gaps with sealant
Slope Finishing
- Level slopes with plaster or putty
- Install decorative casings or plastic panels
- Paint or face the slopes
Sill Installation
- Measure and cut sills of appropriate size
- Install them outside under the window opening
- Seal seams
Sealing
- Fill all seams with silicone sealant
- Check for gaps
- Ensure connection airtightness
Final Check
- Visual inspection of all elements
- Hardware operation check
- Leak test (pour water)
- Thermal insulation check (with thermal camera or by touch)
Warranty and Maintenance
- Receive warranty documents
- Familiarize with operation rules
- Schedule first hardware adjustment in 6-12 months
Expert Tip: After window installation, leave mounting foam for complete drying (24-48 hours). Don’t close curtains or load the frame during this time.
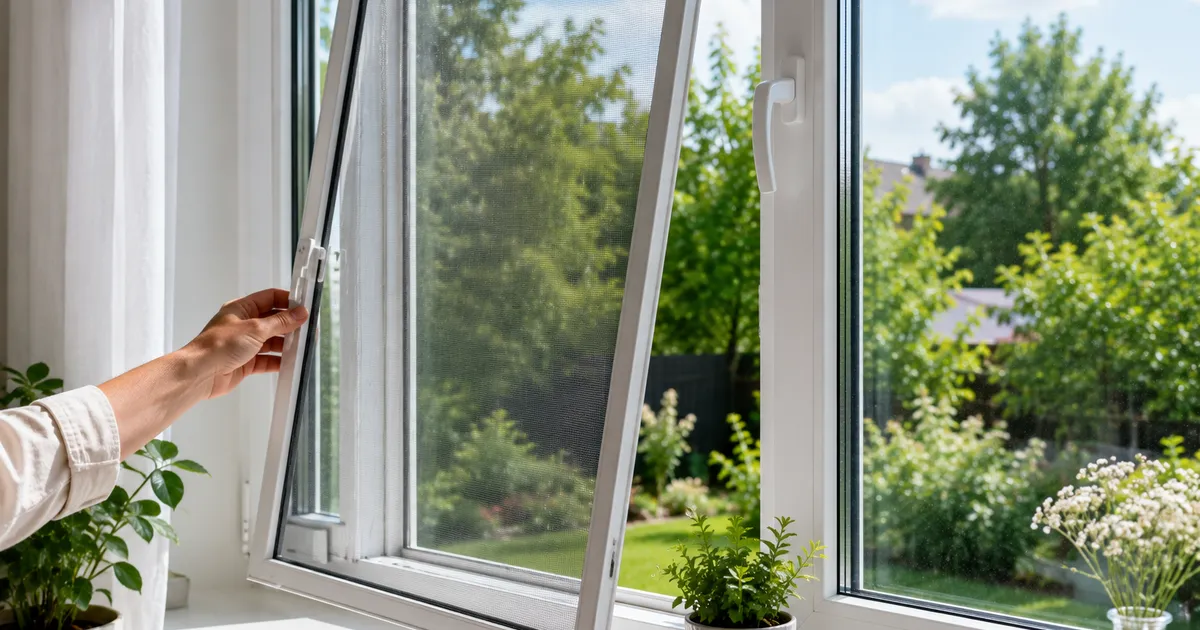
Properly performed window replacement will provide warmth, quiet, and comfort in your home for decades. If you’re unsure of your abilities — contact UWS specialists who will perform all work professionally and provide warranty on their work. UWS provides full range of services: window installation, window repair, glass unit installation, and mosquito net installation in Kyiv.