Window leak diagnosis: signs and solutions
Window leaks are one of the most common problems faced by vinyl window owners. A timely identified and fixed leak prevents serious consequences — mold, wall damage, and reduced insulation. But before fixing the problem, you need to correctly identify its source. In Kyiv, where humidity is high, such diagnosis is especially important before the heating season begins.
Types of window leaks
Vinyl window leaks can be classified by several characteristics:
- Rain leaks — water enters from outside during precipitation.
- Snowmelt leaks — water appears on the windowsill or under the window.
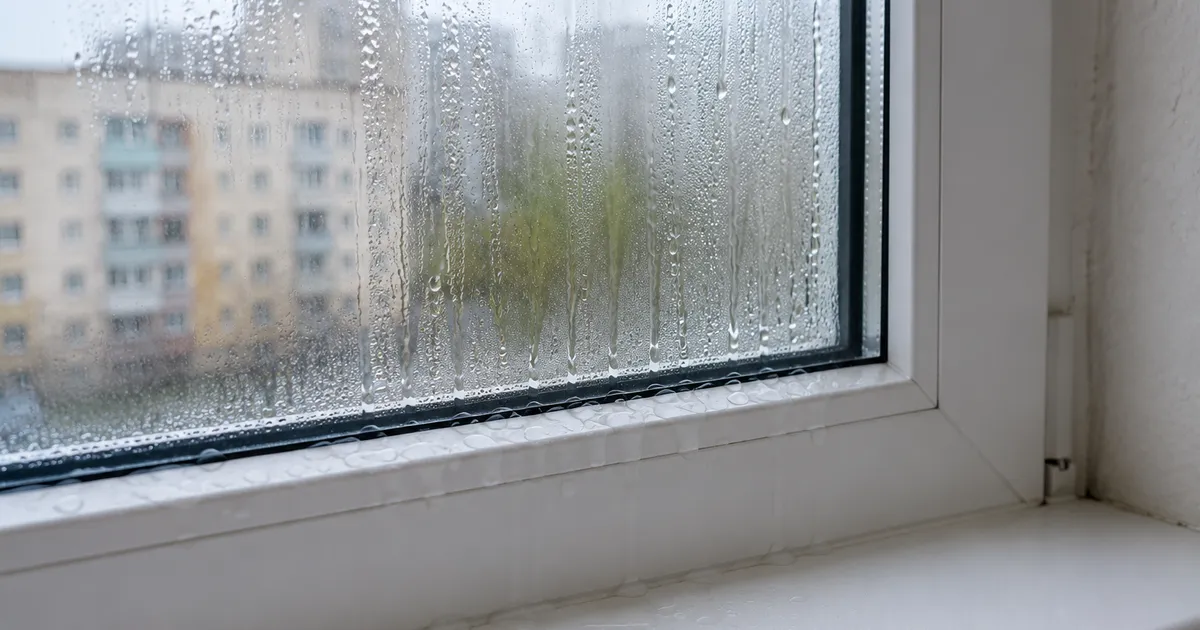
- Condensation leaks — moisture appears on the glass unit and runs down.
- Draft-related moisture — cold air causes moisture condensation in gaps.
Each type has its own characteristic signs and diagnostic methods.
Important: Before starting repairs, accurately identify the leak source. Incorrect diagnosis can lead to unnecessary costs and ineffective repairs.
Leaks through hinges and edges
This is the most common type of leak, usually related to reduced sash clamping against the frame.
Signs:
- Water appears on the hinge side during rain.
- A gap between the sash and frame is visible where there wasn’t one before.
- Paper placed between the sash and frame pulls out too easily.
Causes:
- Worn or deformed seal around the sash perimeter.
- Sash misalignment due to poor hinge adjustment.
- Worn hardware that doesn’t provide sufficient clamping.
- Dirty or frozen seal.
Diagnosis:
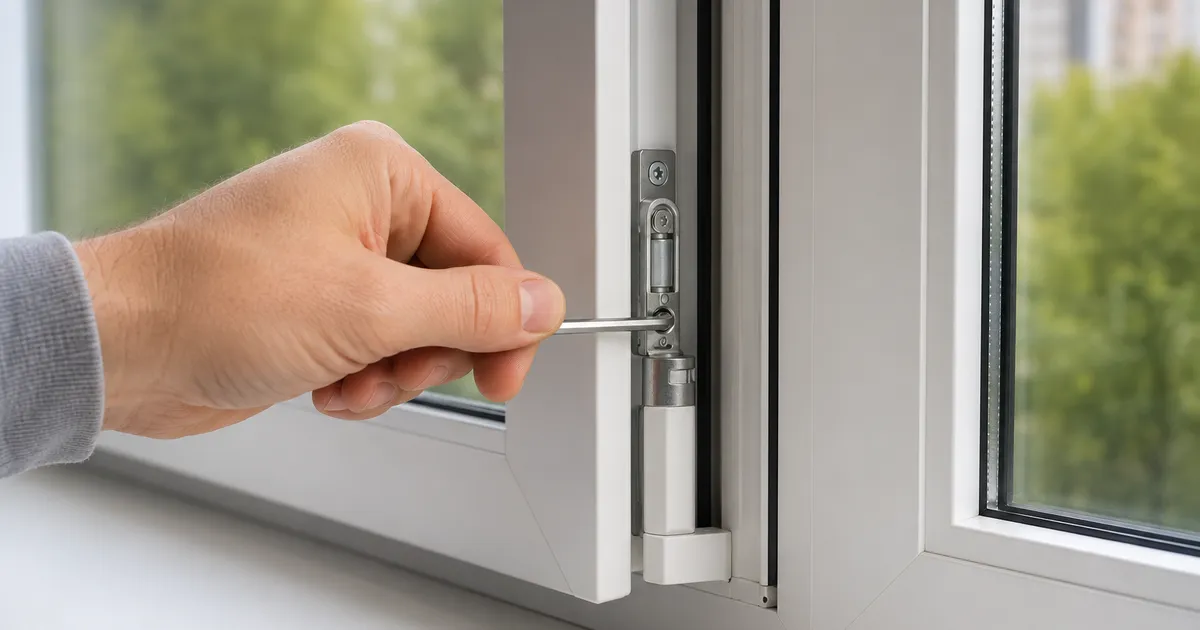
- Visual seal inspection: Open the sash and carefully examine the rubber seal around the entire perimeter. Look for cracks, cuts, or areas where the seal doesn’t touch the frame.
- Clamping test: Close the sash and check the cam lock position. They should engage firmly with the corresponding elements on the frame.
- Hinge check: Inspect the top and bottom hinges for play. The sash should not move freely up-down or left-right.
Tip: To pinpoint the draft location, use a lit candle. Run it along the sash perimeter — the flame will waver at the leak point.
Leaks under the windowsill
Leaks under the windowsill are the third most common cause of calls. Moisture appears on the wall under the window or directly under the windowsill.
Signs:
- Wet spots or mold on the wall under the windowsill.
- Peeling wallpaper or plaster under the window.
- Cold air coming from under the windowsill.
- Visible gaps between the windowsill and frame or wall.
Causes:
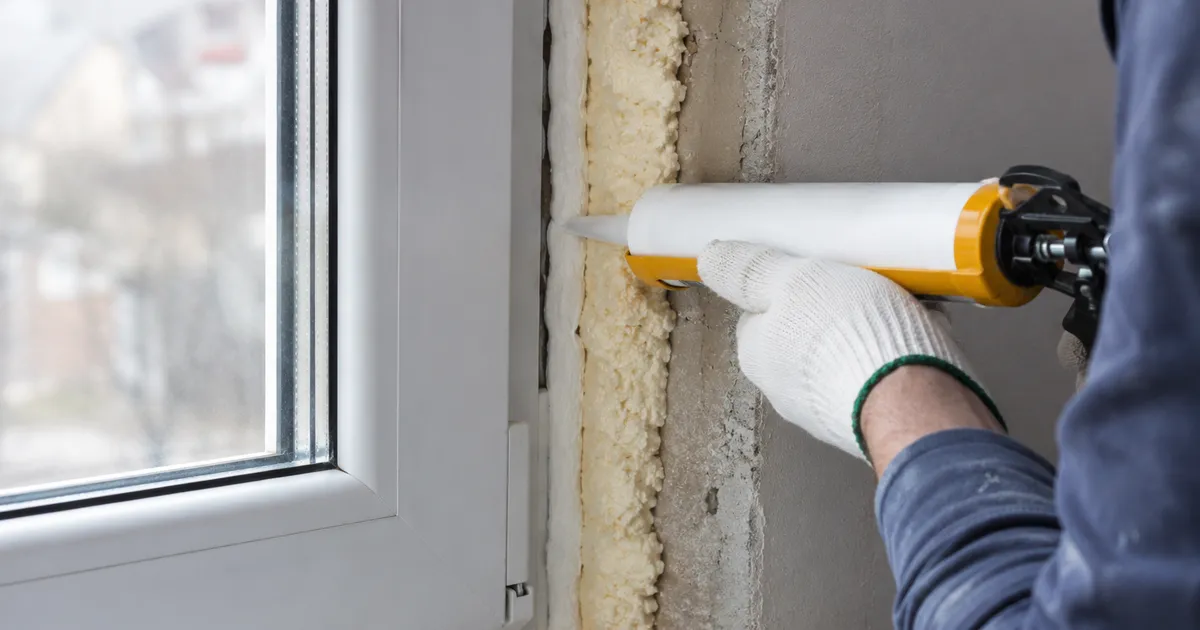
- Compromised installation joint between the frame and wall — foam doesn’t fill the entire cavity or has deteriorated.
- Improperly installed windowsill — no outward slope, no side caps.
- Missing or damaged external sill drip edge.
- Cracks in the mounting foam from UV exposure.
Diagnosis:
- External inspection: Go outside and inspect the drip edge. Make sure it fits tightly against the frame and wall, sloped away from the window.
- Joint inspection: Remove the windowsill (if possible) or inspect the gaps between the windowsill and frame. Check the condition of the mounting foam.
- Draft test: Run a candle along the joint between the windowsill and frame.
Note: Leaks under the windowsill are often related to installation errors. If the window was installed less than 3 years ago and is already leaking — this is grounds for a warranty claim against the installer.
Leaks through the glass unit
This is the least common but most serious type of leak, requiring glass unit replacement.
Signs:
- Condensation between the glass panes.
- Fogging or spots between the glass that don’t disappear after cleaning.
- Visible moisture inside the glass unit.
- A crack in one of the glass panes.
Causes:
- Compromised seal of the spacer frame (primary or secondary seal).
- Mechanical damage to the glass unit.
- Very old glass unit (over 15-20 years).
- Manufacturing defect.
Diagnosis:
- Visual inspection: If moisture or fog is visible between the glass panes, the seal is compromised.
- Transparency test: Look through the glass unit at uniform lighting (e.g., at the sky). Irregularities or spots may indicate problems.
- Spacer frame check: The frame between the glass panes should be uniform in color, without moisture spots.
Important: Glass unit leaks cannot be fixed without replacement. Attempts to “seal” or “dry out” the glass unit are ineffective and lead to further deterioration.
Leak repair methods
DIY repair:
- Clamping adjustment — if the cause is weakened sash clamping. A detailed guide is described in our window adjustment article.
- Seal replacement — if the rubber seal is worn or deformed. Pull the old seal out of the groove and insert the new one.
- Silicone gap filling — for small gaps around the windowsill or frame.
- Seal cleaning — sometimes it’s enough to wash the seal with a soapy solution and treat it with silicone lubricant.
Professional repair:
- Installation joint replacement — complete removal and reinstallation of the window unit with proper joint filling.
- Glass unit replacement — manufacturing and installation of a new glass unit with appropriate specifications.
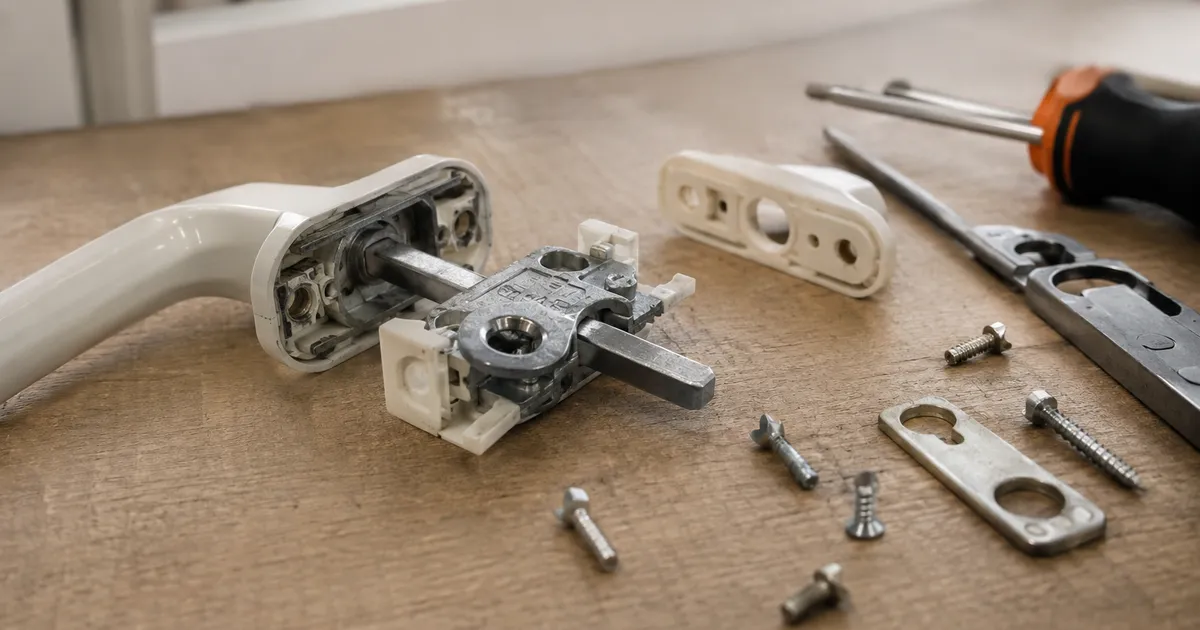
- Hardware repair or replacement — in case of damage or wear to clamping mechanisms.
- External sealing — treatment of the installation joint from the outside with sealant.
Professional tip: Don’t delay leak repair even by a few weeks. Moisture rapidly deteriorates building materials, and mold poses a serious health risk. The faster you fix the cause — the smaller the consequences and costs.
Identifying the exact leak source is key to effective repair. If you’re unsure about your diagnosis, UWS professionals are ready to conduct a professional inspection and fix the problem quickly and efficiently. UWS performs window diagnosis and window sealing in Kyiv, as well as glass unit replacement when needed.