Sealing gaps between the window and wall: methods and materials
Gaps between a vinyl window and the wall are not just an aesthetic problem — they’re a serious breach of insulation and soundproofing. Even a small gap can lead to heat loss, leaks, mold growth, and increased noise levels. Fortunately, sealing gaps is a task that can be solved in a few hours by choosing the right method and materials. In Kyiv, where most buildings have installation joints, this problem is quite common.
Why gaps appear
Gaps between the window and wall can appear for several reasons:
- Installation errors — the most common cause. Uneven filling of the installation joint, insufficient foam, lack of vapor barrier.
- Building settlement — new buildings can settle for 1-3 years, causing installation joint deformation.
- Temperature fluctuations — expansion and contraction of materials leads to micro-cracks.
- Aging of mounting foam — foam without UV protection deteriorates under sunlight and moisture.
- Mechanical damage — careless renovation, impacts, vibration.
- Missing or damaged trim — trim not only decorates but also protects the installation joint.
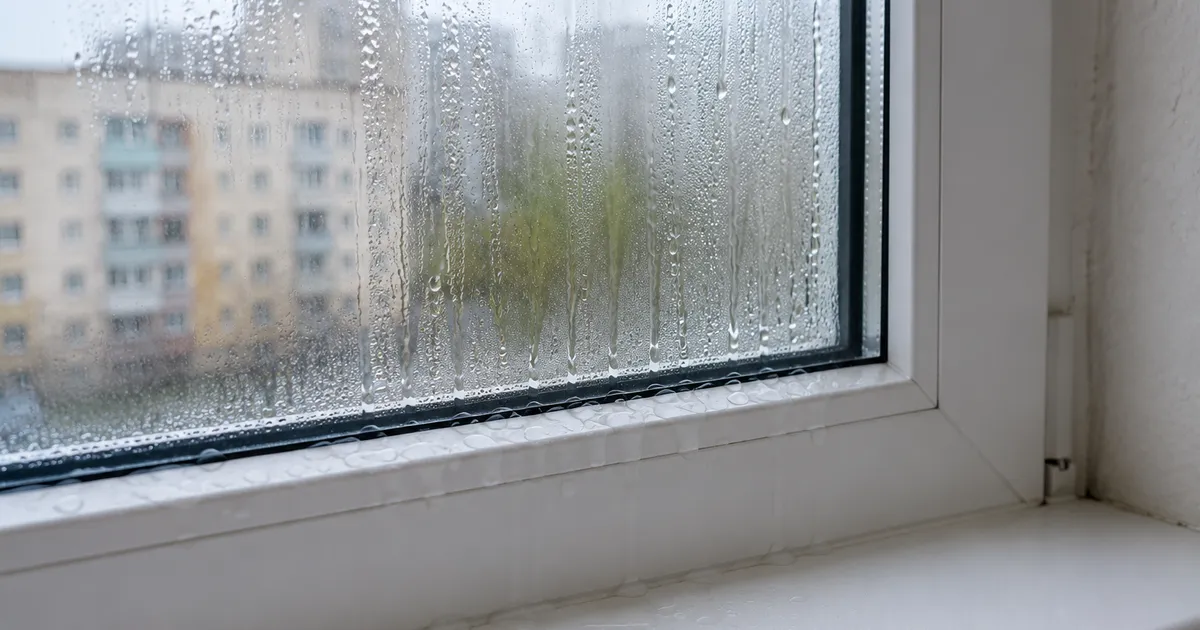
Important: Gaps aren’t just about heat loss. Moisture can penetrate through them, causing wall deterioration, mold growth, and finish damage. Therefore, sealing gaps is a priority task.
Sealing methods
There are several effective methods for sealing gaps, each with its own advantages and applications:
Expanding foam (polyurethane)
Advantages:
- Excellent thermal and acoustic insulation properties.
- Fills cavities of any shape.
- Cures quickly (15-30 minutes).
- Affordable price.
Disadvantages:
- Degrades under UV exposure (needs protection).
- Difficult to paint.
- May expand during application (pressure on the frame).
When to use: For filling gaps from 5mm to 10cm. The primary material for window installation.
Silicone sealant
Advantages:
- Elastic — withstands structural movement.
- Moisture-resistant — ideal for wet areas.
- Temperature-resistant.
- Long-lasting (15-20 years).
Disadvantages:
- Not paintable (except specialized types).
- Doesn’t fill large cavities.
- Difficult to apply evenly without experience.
When to use: For gaps up to 5mm, for finishing the installation joint, in wet areas (kitchens, bathrooms).
Acrylic sealant
Advantages:
- Paintable — easy to match with your finish color.
- Doesn’t yellow over time.
- Easy to apply and smooth out.
- Environmentally safe.
Disadvantages:
- Less elastic than silicone.
- Not suitable for exterior work (poor weather resistance).
- Not recommended for constant water contact.
When to use: For interior work where the gap will be painted or covered with trim.
Decorative trim and baseboards
Advantages:
- Quick and neat finishing.
- No painting required.
- Easy to install and remove.
- Additional insulation.
Disadvantages:
- Don’t fix the root cause (only cover it up).
- Not suitable for large gaps.
- May peel off on uneven walls.
When to use: For final finishing after filling the gap with foam or sealant.
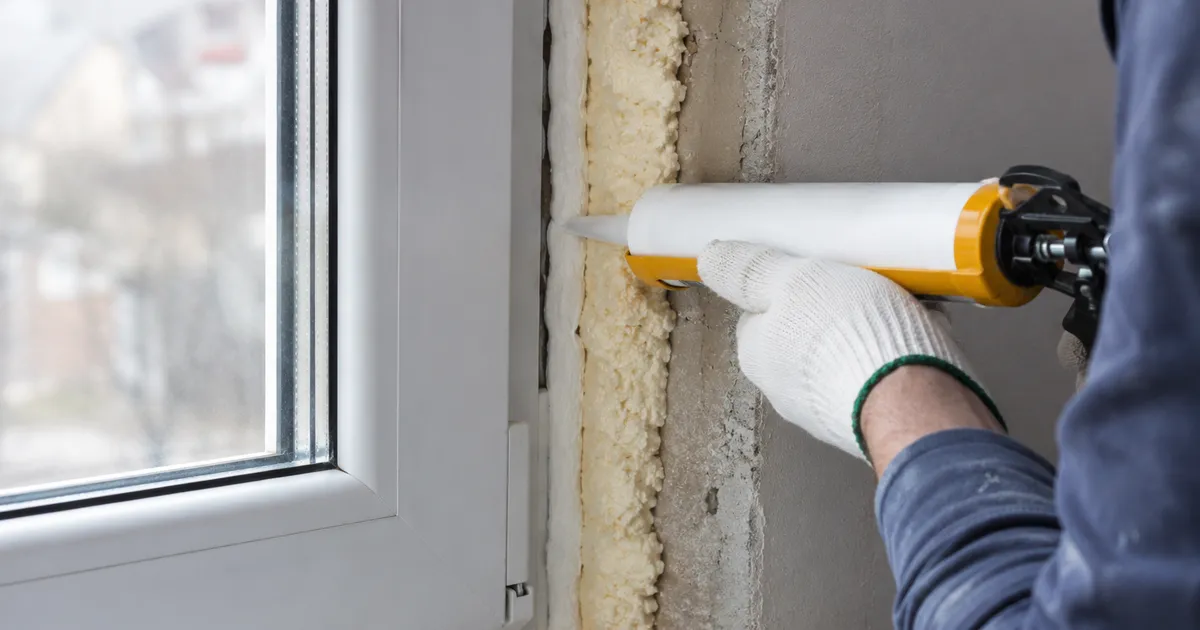
Working with expanding foam
Expanding foam is the primary material for sealing large gaps. Proper technique guarantees a quality result.
Preparation:
- Clean the surface — remove dirt, dust, old deteriorated foam, paint residue.
- Moisten the surface — foam cures better on a damp surface. Lightly spray the wall and frame with water from a spray bottle.
- Protect the frame — cover the vinyl frame with masking tape to prevent foam contamination.
- Check the temperature — most foams work between +5°C and +35°C. In freezing conditions, use “winter” foam.
Application:
- Shake the can for 30 seconds.
- Screw on the gun or nozzle (for professional cans — attach the gun).
- Apply the foam in a thin layer (1/3 of the gap volume). Foam expands 2-3 times.
- Fill the gap gradually, working from bottom to top.
- Don’t exceed layer thickness — maximum thickness per layer is 3-4cm. For larger gaps, apply in multiple stages.
- Wait for full curing — 24 hours for complete drying.
Post-drying treatment:
- Remove excess foam — cut with a knife or scissors.
- Protect from UV — cover with a layer of plaster, silicone, or decorative trim.
- Install vapor barrier tape on the interior side and moisture barrier on the exterior side.
Tip: Don’t apply foam “just in case.” Too much foam can create unnecessary pressure on the window frame and cause deformation. Better to apply less and add more if needed.
Using silicone and sealants
Silicone application technique:
- Clean and dry the surface — silicone doesn’t adhere well to dirty or wet surfaces.
- Apply masking tape on both sides of the gap for neat application.
- Cut the tube nozzle at a 45° angle.
- Apply silicone in an even layer, pressing the nozzle against the surface.
- Smooth out the silicone with a damp stick or finger (in a glove).
- Remove the tape immediately after application, before the silicone sets.
- Wait for drying — 24-48 hours.
Sealant selection:
| Type | Application | Paintable | Elasticity | Moisture Resistance |
|---|---|---|---|---|
| Silicone | Exterior, wet areas | No | High | High |
| Acrylic | Interior work | Yes | Medium | Low |
| Silicone-acrylic | Universal | Yes | Medium | Medium |
| Polyurethane | Industrial | Depends on type | High | High |
Important: For exterior work, use only silicone or polyurethane sealant. Acrylic won’t withstand weather exposure and will crack quickly.
Decorative finishing
After sealing, the gap needs to be decorated for an aesthetic look and additional protection.
Finishing options:
1. Decorative trim (casings)
- Vinyl or wood strips installed around the window.
- Conceal the installation joint and create a neat appearance.
- Additionally protect foam from UV radiation.
- Easy to install with construction adhesive or anchors.
2. Plastering and painting
- For interior and exterior work.
- Completely conceals the gap and creates a uniform surface.
- Reinforcing mesh needed to prevent cracking.
3. Color-matched sealant
- Modern sealants are available in a wide range of colors.
- Suitable for neat gaps where extensive treatment isn’t needed.
4. Decorative covers
- Ready-made elements installed over the gap.
- Quick and clean finishing option.
Professional tip: The most effective combination is expanding foam (filling) + vapor barrier tape (interior side) + decorative trim (finishing). This provides insulation, moisture protection, and an aesthetic appearance.
Sealing gaps between the window and wall is a task that can be solved in a few hours. The key is to choose the right materials for your situation and follow the application technique. UWS performs window sealing and installation joint replacement in Kyiv. And if the gap is too large or you’re unsure of your skills — UWS professionals are always ready to perform the work quickly and efficiently, ensuring reliable sealing for years.