Adjusting vinyl windows: step-by-step guide
Vinyl windows require adjustment over time. Even the highest-quality hardware wears out, seals lose their elasticity, and frames can slightly deform due to temperature fluctuations. Timely adjustment extends the life of windows and ensures comfort in your home. In Kyiv, with its mild but humid climate, this need arises particularly often.
When windows need adjustment
There are several clear signs that your windows need adjustment:
- Drafts in winter — the most common reason for calls. If you feel cold air near the window, or a piece of paper placed between the sash and frame doesn’t hold well — it’s time to adjust.
- Difficulty opening/closing — the sash catches on the frame, requires extra effort, or the handle turns with great resistance.
- Self-opening — in windy weather, the sash opens or turns slightly on its own.
- Visible misalignment — an uneven gap is noticeable between the sash and frame.
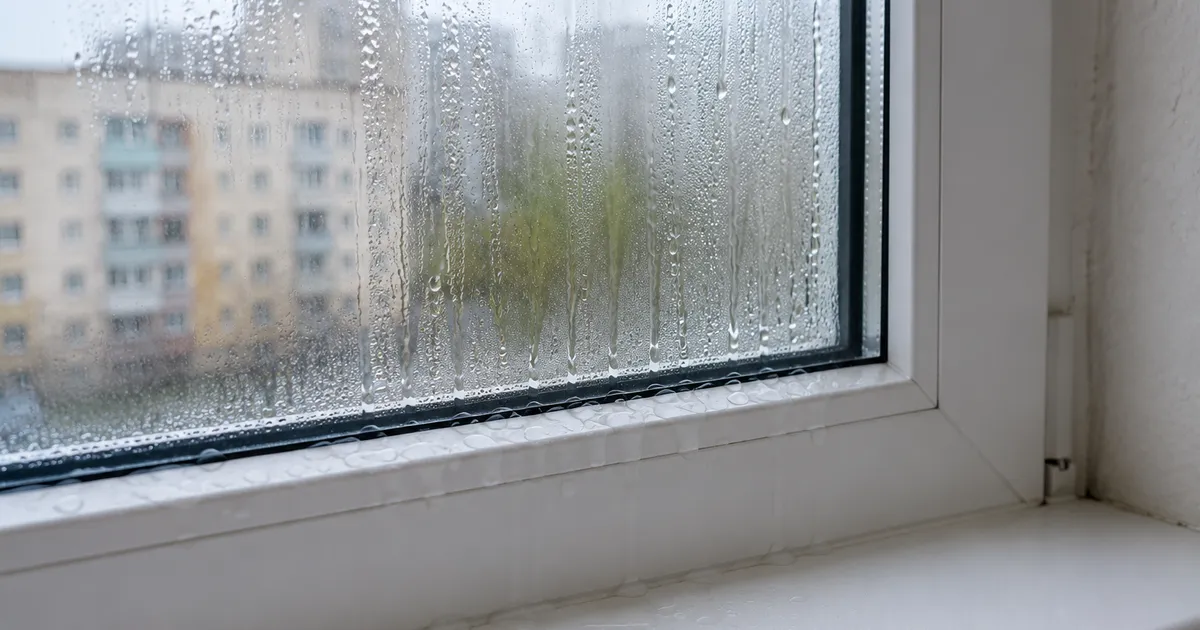
- Condensation on the glass — may indicate a breach in the seal.
Important: Adjustment is best done twice a year — in spring (switching to summer mode) and in autumn (switching to winter mode). This maintains optimal sealing and extends the life of the seals.
Required tools
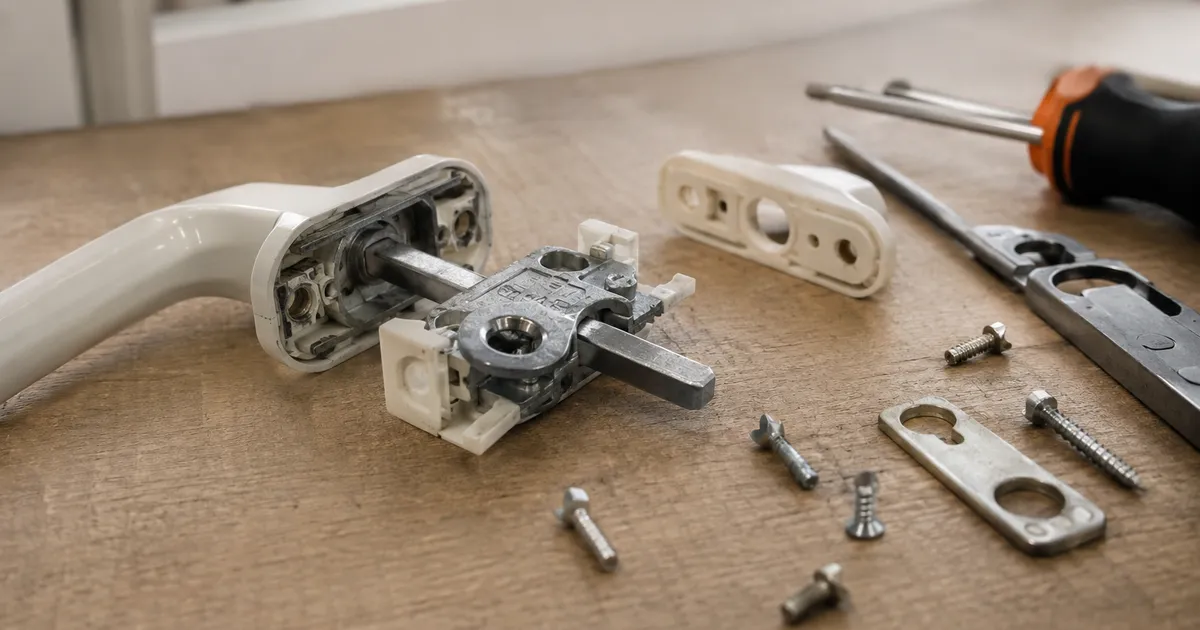
For self-adjustment of vinyl windows, you’ll need a minimum of tools:
- 4mm hex key — the main tool for most adjustments.
- Phillips screwdriver — for adjusting certain hardware elements.
- Flathead screwdriver — for adjusting cam locks (keepers).
- 13mm wrench — for hinge connections on some hardware manufacturers (Roto, Maco).
- A cloth or soft fabric — for cleaning accessible hardware parts before adjustment.
Tip: Before starting adjustment, carefully inspect the hardware. Most modern windows have adjustment direction markings — ”+” and ”-” symbols, arrows. This will help you avoid mistakes.
Step-by-step adjustment guide
Vertical sash adjustment (up-down)
- Open the sash.
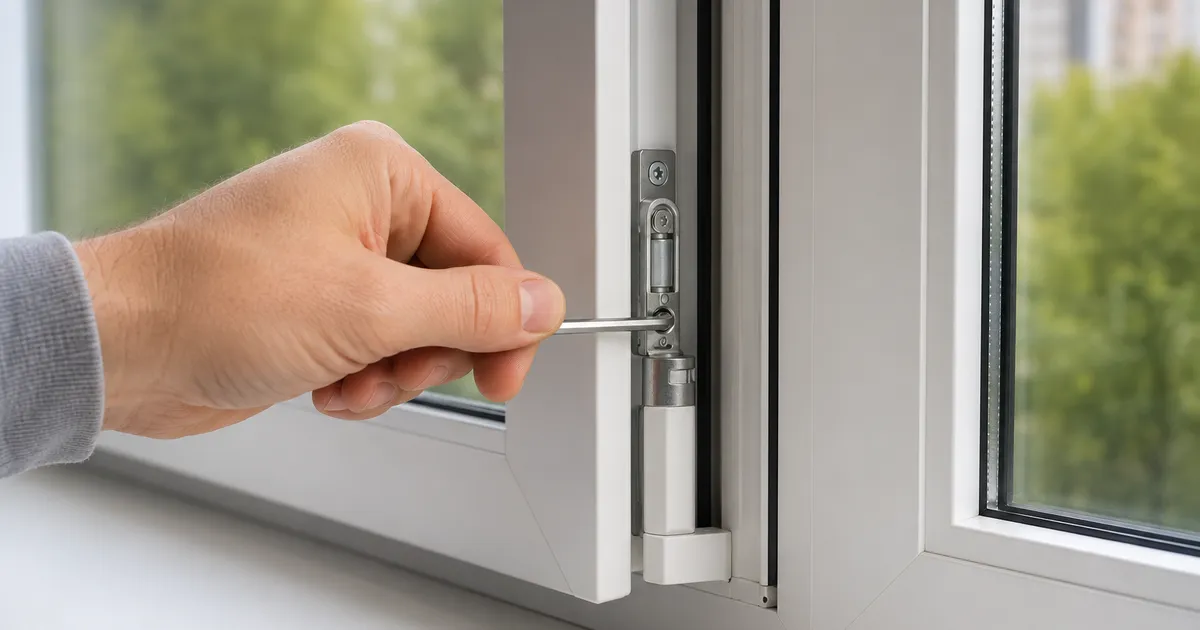
- Find the adjustment screw on the bottom hinge — this is usually a hole on top for a hex key.
- Turn clockwise — the sash moves up.
- Turn counterclockwise — the sash moves down.
- Adjust in small steps — 2-3 turns at a time, checking the result.
Horizontal sash adjustment (left-right)
To correct the sash position relative to the frame:
- On the top hinge (with the sash open), find the adjustment screw for a hex key.
- Turn clockwise — the sash shifts left.
- Turn counterclockwise — the sash shifts right.
- The bottom hinge also has a similar screw for fine-tuning.
Adjusting clamping force (cam locks)
Cam locks (clamping elements) are responsible for how tightly the sash presses against the frame:
- Find the oval or round cam locks on the sash edge.
- Using a flathead screwdriver or hex key, turn the cam lock:
- Toward the ”+” mark — increase clamping (winter mode).
- Toward the ”-” mark — decrease clamping (summer mode).
- Adjust all cam locks to the same setting.
Switching between summer and winter modes
Winter and summer modes differ in how tightly the sash presses against the frame. This is achieved by changing the position of the cam locks.
Winter mode (tight seal)
- Set all cam locks to the ”+” position (maximum clamping).
- Provides minimal drafts and the best insulation.
- Downside: seal wears faster, handle turns with more resistance.
Summer mode (reduced clamping)
- Set all cam locks to the ”-” position (minimum clamping).
- Provides minimal load on the seal and hardware.
- Slight drafts may occur, which is normal for the summer period.
Universal mode (optimal)
- Cam locks are set to the middle position (perpendicular to the frame).
- Suitable for moderate climates and transitional seasons.
Professional tip: Don’t leave windows in winter mode for the summer. Increased clamping in hot weather causes premature seal wear, and by the next winter it may no longer provide proper sealing.
Checking the results
After making all adjustments, be sure to check the results:
- Paper test: Place a sheet of paper between the sash and frame, close the window, and turn the handle. Try to pull the paper out. If it holds firmly around the entire perimeter — the clamping is normal.
- Draft test: Close the window and run a lit candle or match along the sash perimeter. If the flame doesn’t waver — the seal is good.
- Handle check: The handle should turn smoothly, without extra effort, and lock in all positions.
- Visual inspection: Make sure the sash presses evenly against the frame around the entire perimeter, with uniform gaps.
Note: If problems persist after adjustment, the seal may need replacement or hardware repair. In such cases, it’s better to contact a professional to avoid damaging the window structure. UWS performs adjustment and repair of vinyl windows in Kyiv, guaranteeing quality and speed of work.
Self-adjustment of vinyl windows is a simple procedure that most owners can handle. The key is to act carefully, not rush, and check the results at each stage. And if in doubt — you can always reach out to our UWS professionals for expert help. UWS specialists help with adjustments and hardware repair in Kyiv.