Replacing seals on vinyl windows: when and how
The seal is one of the most important but most vulnerable parts of a vinyl window. Its condition directly affects tightness, insulation, and soundproofing. A worn seal leads to leaks, drafts, increased heating costs, and mold growth. Timely seal replacement is a simple procedure that prevents more serious problems. In Kyiv, where winter temperatures can drop to -15°C, window tightness is critically important.
Signs of a worn seal
You can identify that a seal needs replacement by several signs:
- Cracks and tears — the most obvious sign. The rubber becomes brittle and cracks, especially at bend points.
- Shape distortion — the seal becomes flat, loses its round cross-section, and no longer fully fills the groove.
- Darkening or yellowing — color change indicates material aging.
- Sticking to the frame — when opening the sash, the seal sticks and stretches instead of detaching freely.
- Winter drafts — even with normal window adjustment, you feel cold air.
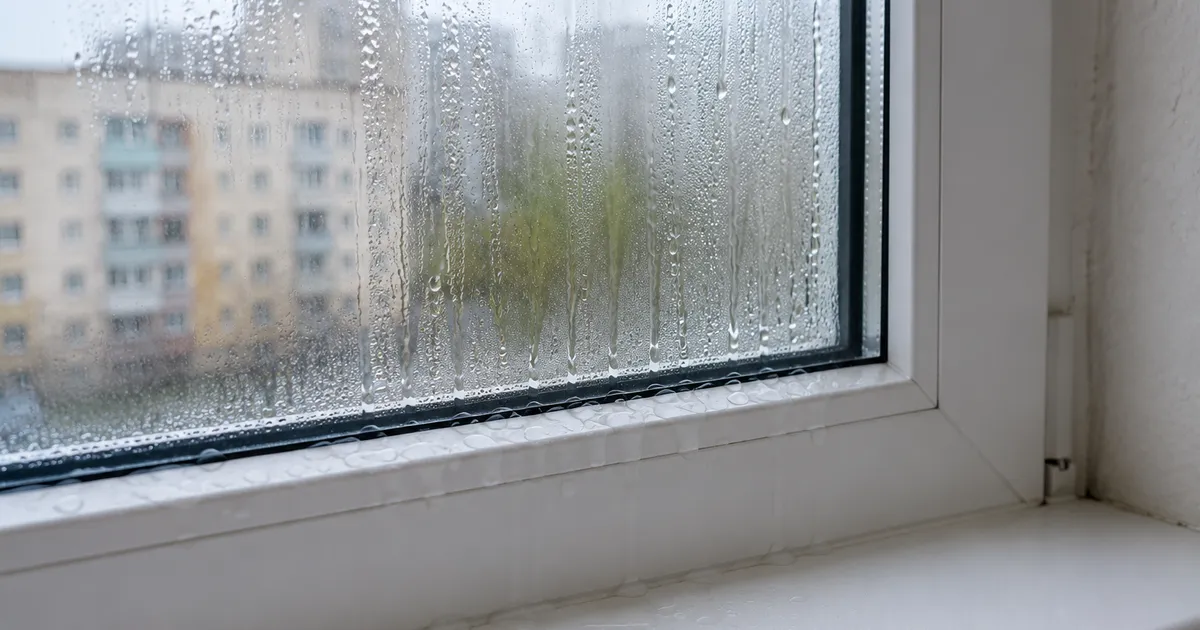
- Condensation on the glass edge — may indicate a worn glass unit edge seal.
Tip: Do a simple test — press a sheet of paper between the sash and frame, close the window. If the paper pulls out too easily or tears — the clamping is insufficient, and the cause may be in the seal.
Types of seals
Several types of seals are available on the market, differing in material, shape, and properties:
By material:
EPDM (ethylene propylene diene monomer)
- The most common material for modern windows.
- Temperature resistance from -40°C to +120°C.
- Resistant to UV radiation and atmospheric effects.
- Lifespan: 10-15 years.
Silicone
- The most elastic and longest-lasting.
- Doesn’t lose elasticity at extreme temperatures.
- Higher price compared to EPDM.
- Lifespan: 15-20 years.
TPE (thermoplastic elastomer)
- A compromise between price and quality.
- Less elastic than silicone, but better than regular rubber.
- Lifespan: 8-12 years.
By cross-section shape:
- D-shaped — the most common for sash seals.
- E-shaped — for increased clamping.
- P-shaped (cap) — for mounting on the sash or frame edge.
- Ring-shaped — for certain glass unit types.
Important: When replacing seals, always use the same type and cross-section as the original installed by the manufacturer. The wrong choice can worsen tightness or make the window difficult to open.
Step-by-step replacement guide
Seal replacement is a process you can do yourself with a minimal set of tools.
Tools and materials:
- New seal (appropriate type and size).
- Flathead screwdriver or wooden spatula.
- Knife or scissors.
- Silicone seal lubricant.
- Soapy solution for cleaning the groove.
Replacing the sash seal:
- Open the sash and find the seal end — it’s usually in the upper corner.
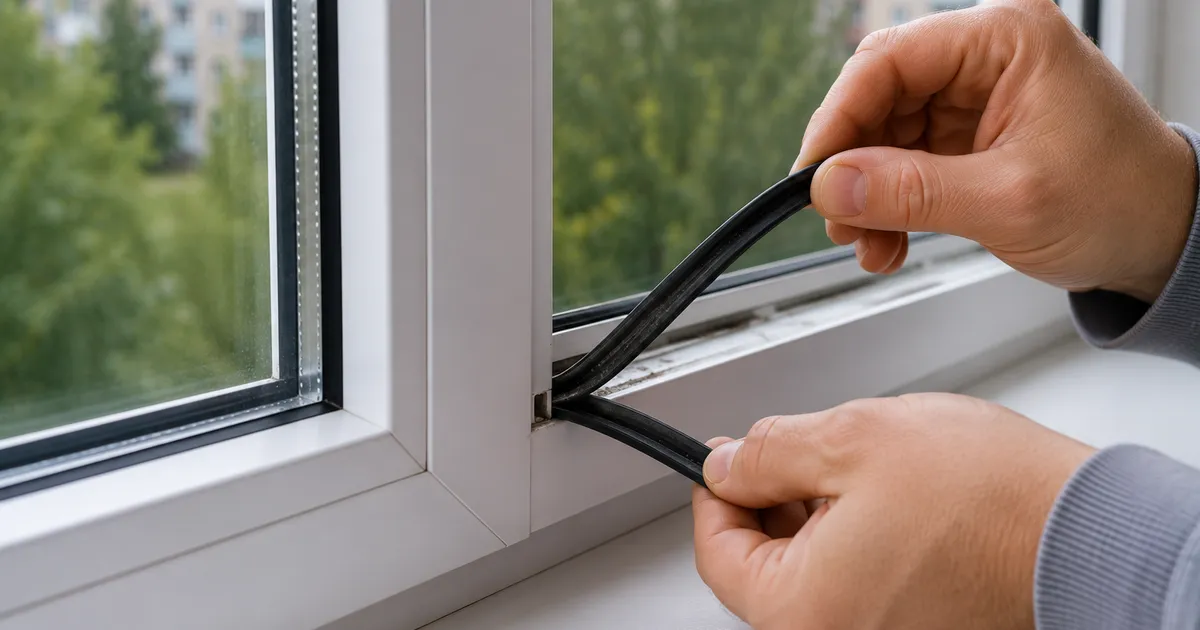
- Pull out the old seal — simply pull it toward you, it comes out of the groove easily. If the seal is glued, gently pry it with a flathead screwdriver.
- Clean the groove — wipe the groove with a damp cloth and soapy solution. Make sure no old adhesive residue or dirt remains in the groove.
- Install the new seal — start from the upper corner, inserting the seal into the groove gradually. Don’t stretch it too tight — the seal should lie loosely, without folds.
- Join the ends — cut the seal so the ends meet without gaps and without overlap. Some manufacturers recommend cutting the ends at a 45° angle for a better joint.
- Treat with lubricant — apply a thin layer of silicone lubricant to the new seal. This eases sliding and extends its lifespan.
Replacing the frame seal:
The process is similar, but the seal is on the frame, not the sash. When replacing, pay attention to areas where the seal passes through the hinges — there may be mounting elements that need to be carefully worked around.
Tip: Don’t cut the seal too short. It’s better to leave a small margin (2-3mm) that can be trimmed after checking.
Seal maintenance
Proper care significantly extends the seal’s life and delays the need for replacement:
What to do:
- Wash with soapy solution every 4-6 months. Use a soft cloth and neutral soap.
- Treat with silicone lubricant after each wash. This maintains elasticity and prevents sticking.
- Clean off dirt — dust, sand, and small particles act as abrasives and accelerate wear.
- Check condition during seasonal window maintenance.
What to avoid:
- Solvents and harsh chemicals — gasoline, acetone, WD-40 destroy the rubber structure.
- Paints and varnishes — completely destroy the seal’s elasticity.
- Mechanical friction — don’t wipe the seal with rough materials.
- Adding extra seals — “doubling” the seal doesn’t improve tightness, but rather worsens clamping and causes deformation.
Important: If the seal sticks to the frame and tears when opening — this is a sign that it needs replacement, not lubrication.
When to call a professional
Although seal replacement is a fairly simple procedure, there are situations where it’s better to trust a professional:
- Glass unit seal replacement — this requires removing the glass unit, which risks damage.
- Complex window geometry — non-standard shapes, arches, round windows.
- Simultaneous seal and hardware replacement — complex repairs are best left to a professional.
- Window at great height — safety comes first.
- Mismatched seal type — if you’re unsure which seal you need.
Professional tip: Always buy seals with a margin — at least 1 extra meter. If you make a cutting error or find a material defect, you won’t need to go back to the store.
Seal replacement is an investment in your home’s comfort and energy efficiency. A properly selected and installed seal ensures tightness for years to come. UWS performs seal replacement and window adjustment in Kyiv, guaranteeing quality work. And if you have any doubts about selection or installation — UWS professionals are always ready to help.